Organizations
SysTeam HealthChecks supports multi-tenant architecture with organizations, allowing teams to collaborate while maintaining data isolation.
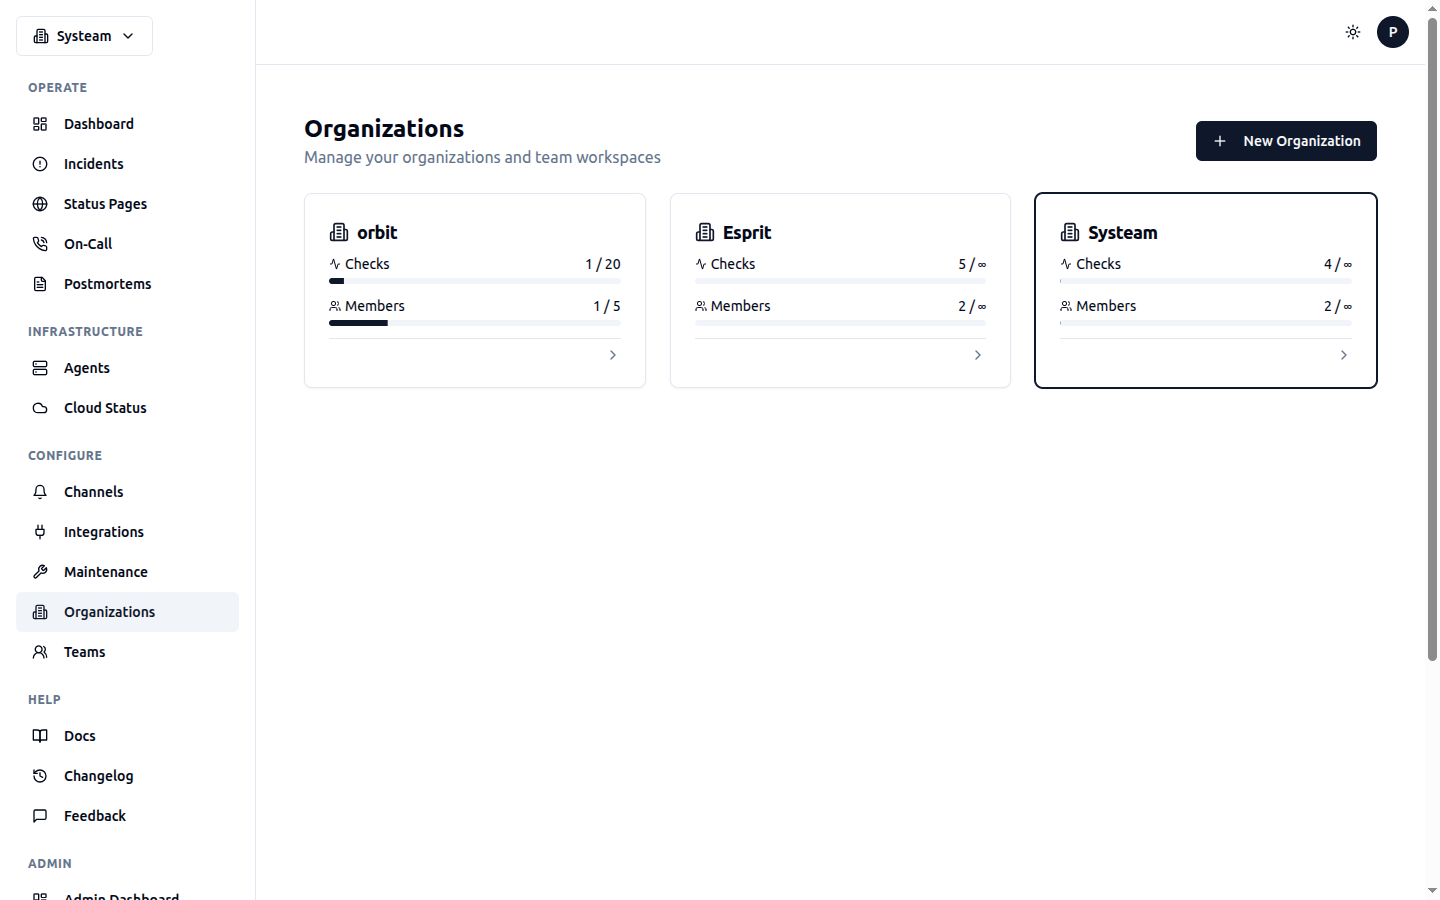
Multi-tenant organization management with check and member quotas
Overview
Organizations are the primary way to manage team access and resource limits. Each organization has its own checks, notification channels, and settings.
Key Features
- Data isolation between organizations
- Role-based access control (RBAC)
- Subscription plans with resource limits
- Team member management
- Organization-level settings
- Audit logging
Creating an Organization
- Go to Organizations in the sidebar
- Click + New Organization
- Enter the organization name and slug
- Click Create
Example Configuration
Organization Roles
Each member of an organization has a role that determines their permissions:
| Role | Permissions |
|---|---|
| Owner | Full control — delete organization, manage billing, transfer ownership |
| Admin | Manage members, settings, all checks and channels |
| Member | Create, edit, delete checks and notification channels |
| Viewer | Read-only access to checks and dashboards |
Managing Members
Inviting Members
- Go to your organization's page
- Click Members tab
- Click Invite Member
- Enter the user's email address
- Select a role
- Click Send Invite
Note
The invited user must already have an account. If they don't, they'll need to register first before accepting the invitation.
Changing Member Roles
Owners and Admins can change the roles of other members:
- Go to Members in your organization
- Find the member you want to update
- Click the role dropdown
- Select the new role
Removing Members
- Go to Members
- Click Remove next to the member
- Confirm the removal
Important
You cannot remove the organization owner. To change ownership, the current owner must transfer it to another admin first.
Subscription Plans
Each organization has a subscription plan that determines resource limits:
| Plan | Checks | Min Interval | Members |
|---|---|---|---|
| Free | 20 | 60 seconds | 3 |
| Pro | 100 | 10 seconds | 10 |
| Enterprise | 1000 | 1 second | Unlimited |
Tip
All plans are free during the beta period. Plan limits determine resource quotas. Contact your administrator for plan upgrades.
Plan Features
- Check Limits — Maximum number of active checks
- Interval Limits — Minimum time between check runs
- Member Limits — Maximum team members
- Log Retention — How long check logs are stored
- SSL Monitoring — Available in Pro and Enterprise
- API Access — Available in Pro and Enterprise
- Quiet Hours — Plan-gated feature
- IP Whitelist — Plan-gated feature
Organization Settings
Configure organization-wide settings from the Settings page. Navigate to Organizations → select your org → Settings. Requires Admin role or higher.
General Settings
- Organization Name — Display name for your organization
- Contact Email — Primary contact email
- URL Slug — URL-friendly identifier (changing it breaks existing links)
Date & Time
- Timezone — Default timezone for displaying dates and times across the organization
Data Retention
- Log Retention — Days to keep check logs (limited by plan)
Security
- Session Timeout — Auto-logout after inactivity (minutes)
Notifications
- Alert Delay — Seconds to wait before sending alerts (helps prevent false positives from transient failures)
Quiet Hours
Plan-Gated Feature
Available on plans with the Quiet Hours feature enabled.
Suppress notifications during off-hours to avoid unnecessary alerts:
- Enable/Disable — Toggle quiet hours on or off
- Start Time — When quiet hours begin (e.g., 22:00)
- End Time — When quiet hours end (e.g., 07:00)
During quiet hours, notifications are paused. Checks continue running and incidents are still recorded.
IP Whitelist
Plan-Gated Feature
Available on plans with the IP Whitelist feature enabled.
Restrict API access to specific IP addresses or CIDR ranges:
- Add individual IPs (e.g.,
10.0.0.1) or CIDR ranges (e.g.,192.168.1.0/24) - Leave empty to allow access from all IPs
- Useful for locking down API access to your office or VPN IPs
Webhook Defaults
Default configuration applied to all webhook notification channels:
- Retry Count — Number of retry attempts on failure (0-10)
- Timeout — Maximum wait time per request in seconds (1-120)
- Default Headers — JSON object of HTTP headers applied to all webhook channels (can be overridden per channel)
War Room Auto-Creation
Automatically create a shared meeting room when incidents aren't resolved quickly. See On-Call > War Room Auto-Creation for full details.
- Enable/Disable — Toggle war room auto-creation
- Default Provider — Google Meet, Slack Huddle, Discord, MS Teams, or VS Code LiveShare
- Auto-create Delay — Minutes after incident starts before creating the room (0 = immediate)
- Notify On-Call — Send join link to on-call responders via their notification channel
Team & Permissions
Control what different roles can do within your organization:
- Members Can Manage Channels — Allow users with the Member role to create and edit notification channels
- Viewers Can See Logs — Allow users with the Viewer role to view check logs and history
- Invitation Expiry — Number of days before a member invitation link expires (1-30)
Resource Hierarchy
Understanding how resources are organized helps you set up your monitoring effectively:
Organization (Acme Corp)
  ├── Members (with roles: Owner/Admin/Member/Viewer)
  ├── Teams (optional grouping)
  │   └── Members (Lead/Member)
  ├── Projects
  │   ├── Checks (HTTP, DNS, Heartbeat, etc.)
  │   │   ├── Check Logs (execution history)
  │   │   ├── Incidents (auto-created on DOWN)
  │   │   ├── SLOs (uptime targets)
  │   │   └── Notification Channels (assigned)
  │   └── Access Control (optional, per-project)
  ├── Notification Channels
  ├── On-Call Schedules (rotation rosters)
  ├── Escalation Policies (multi-step alert chains)
  ├── Integration Keys (inbound events from external systems)
  ├── Status Pages (public uptime dashboards)
  ├── Maintenance Windows
  ├── Suppression Rules (noise reduction)
  ├── War Rooms (incident collaboration)
  └── Postmortems (post-incident reviews)
Tip
Project Access Control
By default, all organization members can see all projects. For sensitive checks, you can restrict access per project:
- Go to the project's Settings
- Enable Access Control
- Add specific members who should have access
- Click Save
When access control is enabled, only added members (plus Admins and Owners) can view the project and its checks. Other members see no trace of the project in their dashboard.
Warning
Audit Logging
Every significant action within an organization is logged to the audit trail. Admins and Owners can review who did what and when:
- Check operations — create, update, delete, pause, resume, clone
- Channel operations — create, update, delete notification channels
- Member management — invite, remove, role changes
- Settings changes — org settings, plan changes
- Team operations — create, update, delete teams, member changes
- Incident actions — acknowledge, resolve, snooze, priority changes
- Security events — SSO configuration, API key creation, MFA changes
Audit log entries include: timestamp, user who performed the action, action type, target resource, and relevant details (e.g., old and new values for updates).
Single Sign-On (SSO)
Organization admins can configure SSO providers scoped to their organization. This allows members to authenticate using your company's identity provider instead of a password.
Go to Organization Settings → SSO to configure providers. See the SSO documentation for detailed setup guides for GitHub, Google, SAML 2.0, and OIDC.
When to Use One Org vs Multiple
Use one organization when your company or department shares infrastructure responsibility. Use Teams within the org to separate by team (e.g., SRE, Database, Application).
Use multiple organizations when you need complete data isolation between clients (MSP/agency model) or between unrelated business units that should never see each other's data.
Teams
Teams are a lightweight grouping mechanism within an organization. They let you associate projects, on-call schedules, escalation policies, and integration keys with specific teams of people.
See the full Teams & Access Control documentation for details on creating teams, roles, and resource assignment.
Organization (Acme Corp)
  ├── Team: SRE → Projects, Schedules, Policies
  ├── Team: Database → Projects, Schedules, Policies
  └── Team: Application → Projects, Schedules, Policies
Switching Organizations
If you're a member of multiple organizations, you can switch between them using the organization switcher in the sidebar. The current organization context determines which checks, notifications, and settings you see.
Usage & Limits
Monitor your organization's resource usage:
- Go to Organizations
- Select your organization
- View the Usage section
Shows: current checks vs. limit, current members vs. limit, available features based on plan.
Deleting an Organization
Only the organization owner can delete an organization:
- Go to organization Settings
- Scroll to Danger Zone
- Click Delete Organization
- Type the organization name to confirm
- Click Delete
Irreversible Action
Deleting an organization permanently removes all checks, logs, incidents, notification channels, and settings. This action cannot be undone.
API Access
/api/organizations/List your organizations/api/organizations/{id}Get organization details/api/organizations/{id}/usageGet usage & limits/api/organizations/{id}/settingsGet settings/api/organizations/{id}/membersList members