Maintenance Windows
Schedule maintenance periods to suppress alerts during planned downtime and prevent false positive notifications.
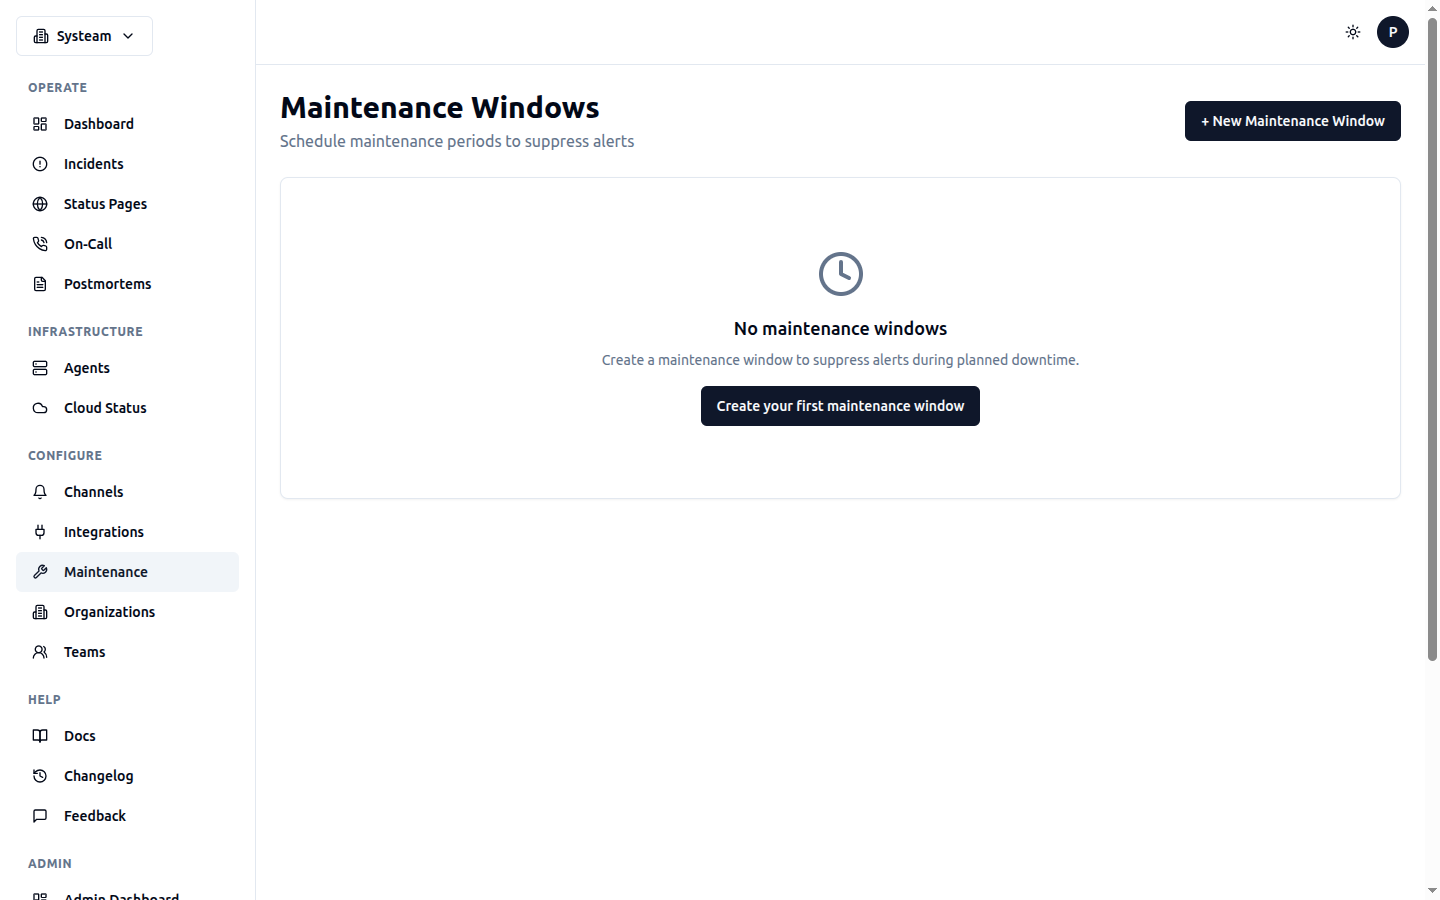
Schedule maintenance periods to suppress alerts during planned downtime
Why Use Maintenance Windows?
When you need to perform planned maintenance on your services (updates, migrations, hardware changes), you don't want to receive alerts for expected downtime. Maintenance windows let you:
- Prevent false alerts during planned downtime
- Keep your incident history clean
- Exclude planned downtime from SLA/SLO calculations
- Apply to all checks or specific services
Creating a Maintenance Window
- Go to Maintenance in the sidebar
- Click + New Maintenance Window
- Configure the maintenance window settings
- Click Create
Example: Weekly Server Maintenance
Configuration Options
Time Settings
| Field | Description |
|---|---|
| Start Time | When the maintenance window begins |
| End Time | When the maintenance window ends |
| Timezone | Timezone for the scheduled times (UTC, Europe/Warsaw, etc.) |
Scope
You can apply a maintenance window to:
- All checks — Leave check selection empty
- Specific checks — Select individual checks to include
- Projects — Apply to all checks in selected projects
Important
During an active maintenance window, checks will still run and update their status, but no notifications will be sent for those checks. Incidents are still recorded in the log.
Maintenance Window Status
Each maintenance window can be in one of these states:
SLA/SLO Exclusion
Active maintenance windows are automatically excluded from uptime and SLA/SLO calculations. This means:
- Planned downtime during maintenance does not reduce your uptime percentage
- Maintenance-period incidents do not consume your SLO error budget
- MTTR calculations exclude maintenance-related incidents
See SLA & SLO → Maintenance Exclusion for details.
Managing Maintenance Windows
Edit a Window
Click Edit on any maintenance window to modify its settings. You can change the time, scope, or description.
Enable/Disable
Use the Disable / Enable button to temporarily deactivate a maintenance window without deleting it.
Delete a Window
Click Delete to permanently remove a maintenance window. This action cannot be undone.
API Reference
All maintenance endpoints are under /api/maintenance.
List All Windows
Response: [
  {
    "id": 5,
    "name": "Weekly Maintenance",
    "description": "Regular system updates",
    "start_time": "2026-01-20T02:00:00Z",
    "end_time": "2026-01-20T04:00:00Z",
    "timezone": "UTC",
    "is_active": true,
    "check_ids": [1, 2, 3],
    "project_ids": []
  }
]
List Active Windows
Returns only windows currently in effect (start_time <= now <= end_time and is_active=true).
Same response format as list all.
Get Window Details
Response:
{
  "id": 5,
  "name": "Weekly Maintenance",
  "description": "Regular system updates",
  "start_time": "2026-01-20T02:00:00Z",
  "end_time": "2026-01-20T04:00:00Z",
  "timezone": "UTC",
  "is_active": true,
  "check_ids": [1, 2, 3],
  "project_ids": []
}
Create Window
Request:
{
  "name": "Weekly Maintenance",
  "description": "Regular system updates",
  "start_time": "2026-01-20T02:00:00",
  "end_time": "2026-01-20T04:00:00",
  "timezone": "UTC",
  "check_ids": [1, 2, 3],
  "project_ids": []
}

Response: created window object
Update Window
Request: same fields as create (all optional)
Response: updated window object
Delete Window
Response: 204 No ContentCheck Maintenance Status
Response:
{
  "check_id": 1,
  "in_maintenance": true,
  "active_windows": [
    {
      "id": 5,
      "name": "Weekly Maintenance",
      "end_time": "2026-01-20T04:00:00Z"
    }
  ]
}
Best Practices
- Plan ahead — Create maintenance windows before the scheduled time
- Be specific — Only include checks that will actually be affected
- Add buffer time — Include extra time at the end for unexpected delays
- Document — Use the description field to explain the maintenance purpose
- Notify stakeholders — Use status pages to inform customers about scheduled maintenance